ubuntu server 22.04 설치하기
개인용 서버로 centos 를 사용했었습니다.
최근 centos 의 무료 지원이 끊긴다는 소식을 듣고 대체제를 찾다가 ubuntu를 접하게 되었습니다.
centos 와 같은 리눅스 파생판이며 역사도 오래됐고 참조 자료가 웹에 많습니다.( 갠적으로 가장 중요하다고 생각하는 항목 )
요즘은 시대가 좋아져서 리눅스도 windows like gui 가 워낙 잘 나와서 매니아들은 윈도 대신 리눅스 데스크탑 환경으로도 사용을 합니다.
그럼 설치를 해보죠.
OS 다운로드
https://releases.ubuntu.com/22.04/
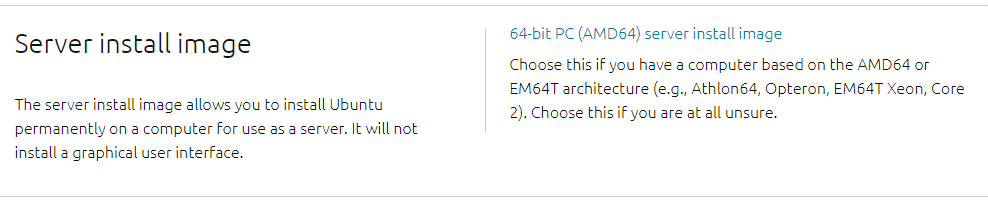
위 사진의 것으로 받으면 됩니다. 버전은 글 작성시 기준 최신인 22.04로 받았습니다.
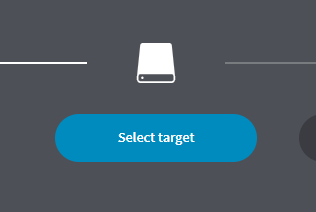
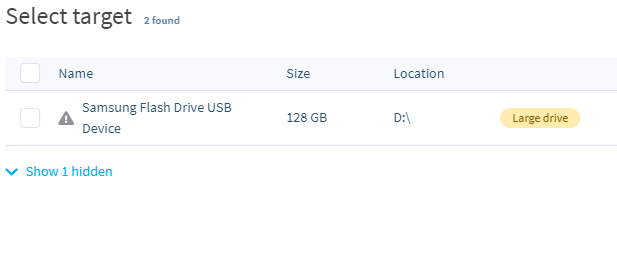
이미지 파일을 다운로드 받은 후 https://www.balena.io/etcher/ 에서 usb 설치 프로그램을 다운로드 받습니다.
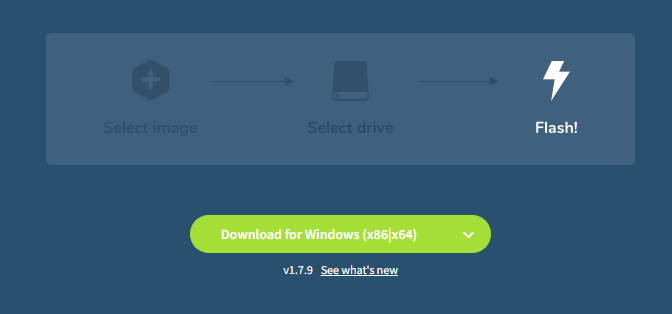
usb를 설치 디스크로 만들어 주는 프로그램이며 무료입니다. 비 윈도 계열 설치중 세계적으로 가장 인기가 있습니다.
( 보통 윈도는 rufus, 기타 리눅스 계열은 balena etcher 로 제작 )
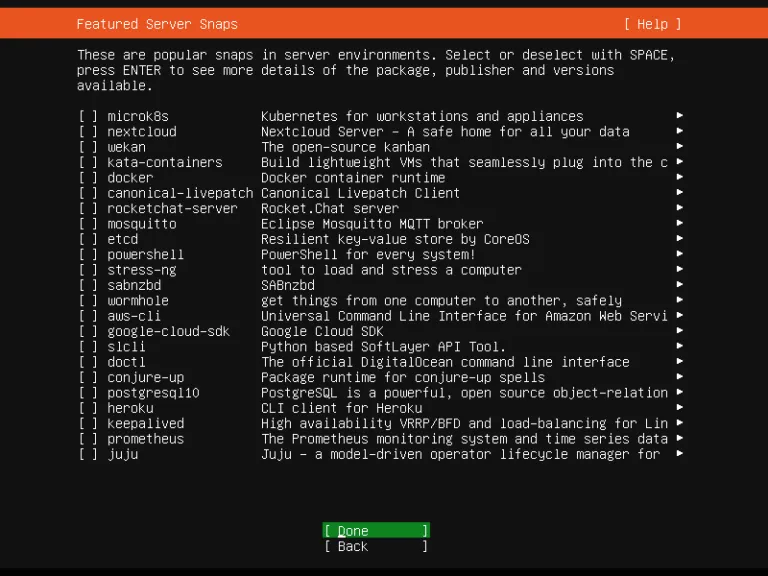
다운로드가 끝났으면 설치를 한 뒤 프로그램을 실행시킨 뒤 아래 내용대로 진행합니다.
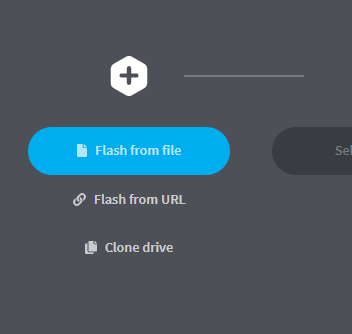

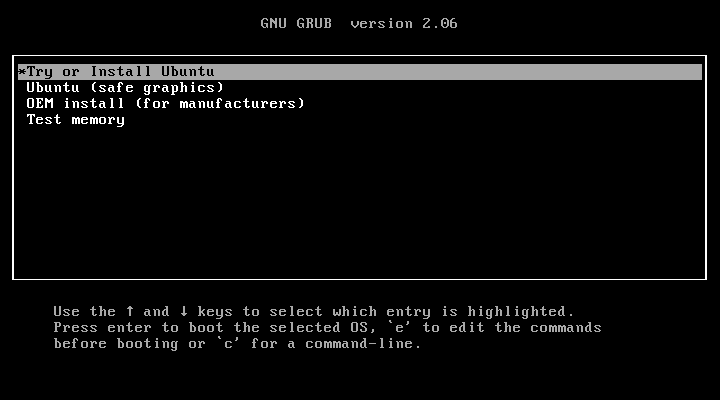
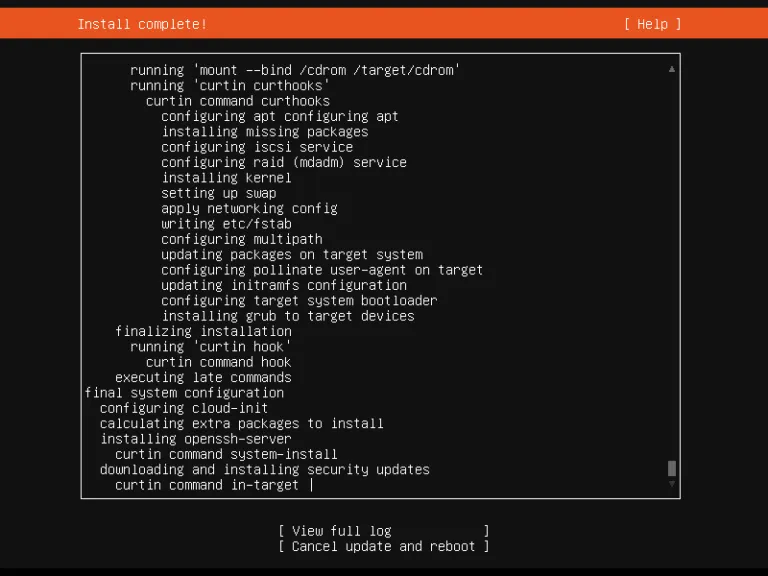
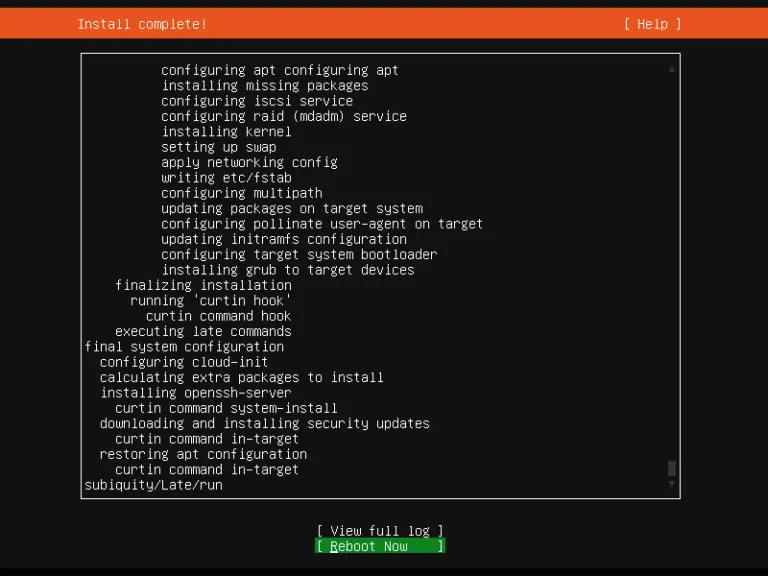
몇분 기다리면 설치가 완료되었다는 화면이 나옵니다.
이제 서버에 우분투를 설치할 차례입니다.
컴퓨터의 바이오스에서 첫번째 부팅 디바이스를 usb 로 합니다.
( 바이오스에서 부팅순서 변경 참고 )
OS 설치
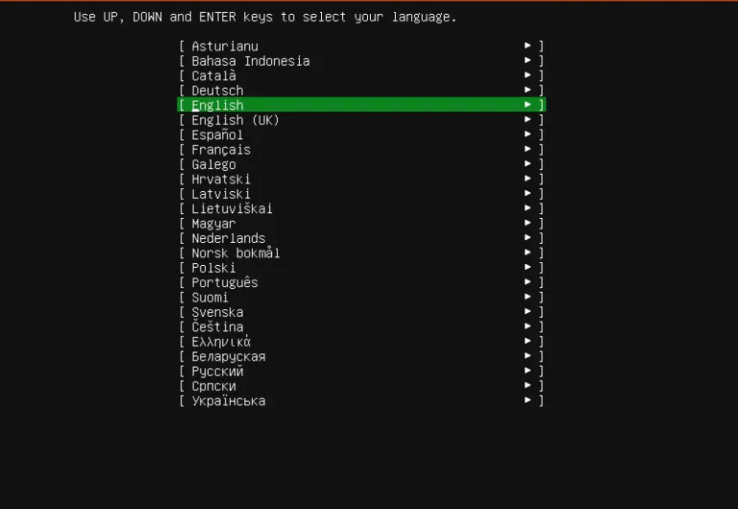


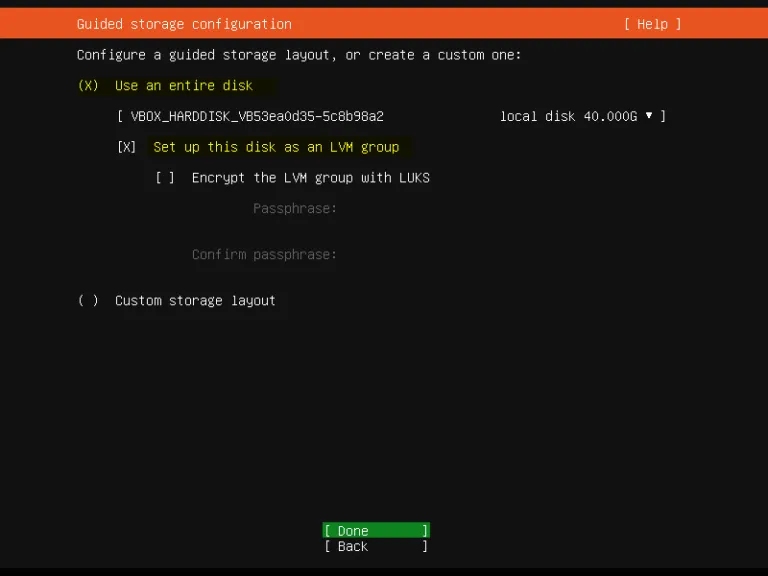
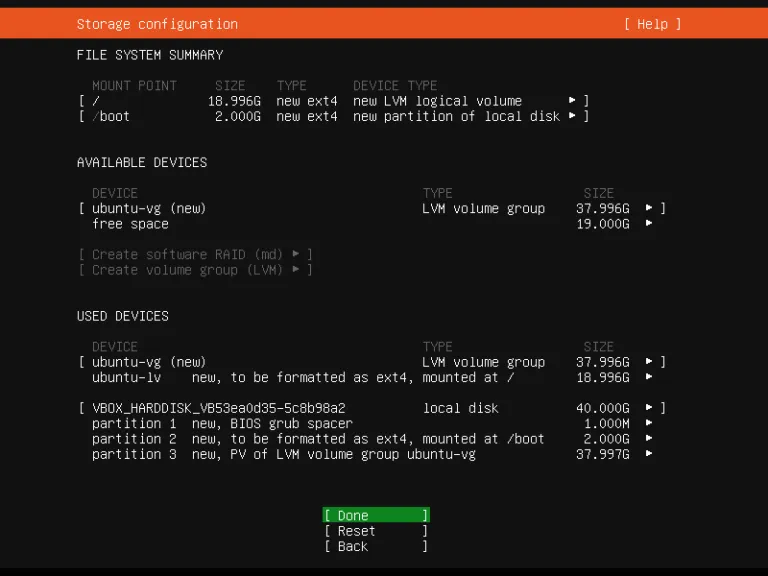
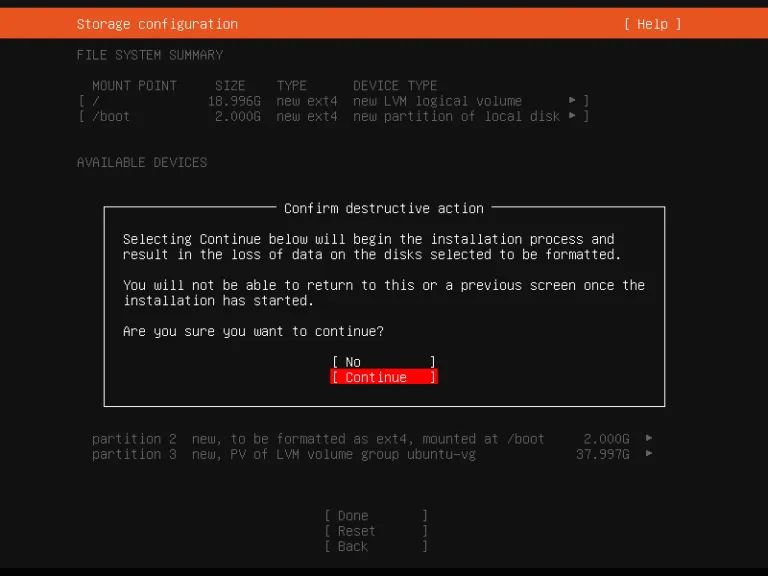
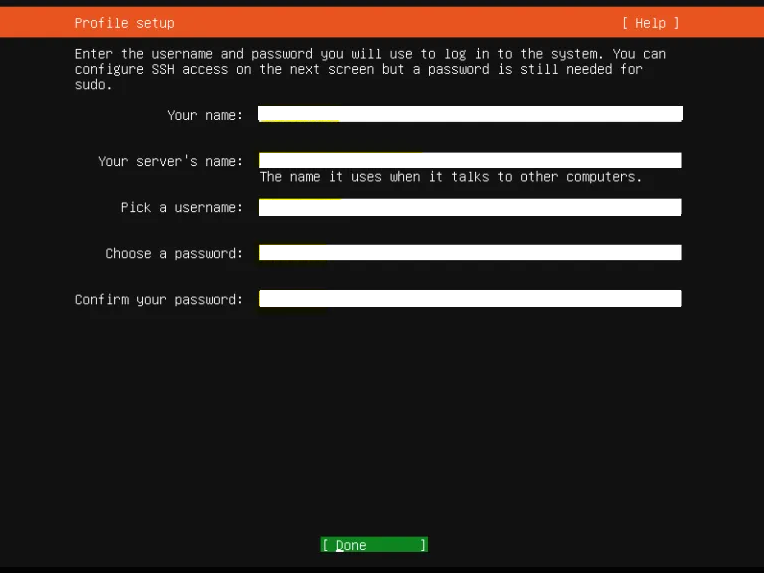

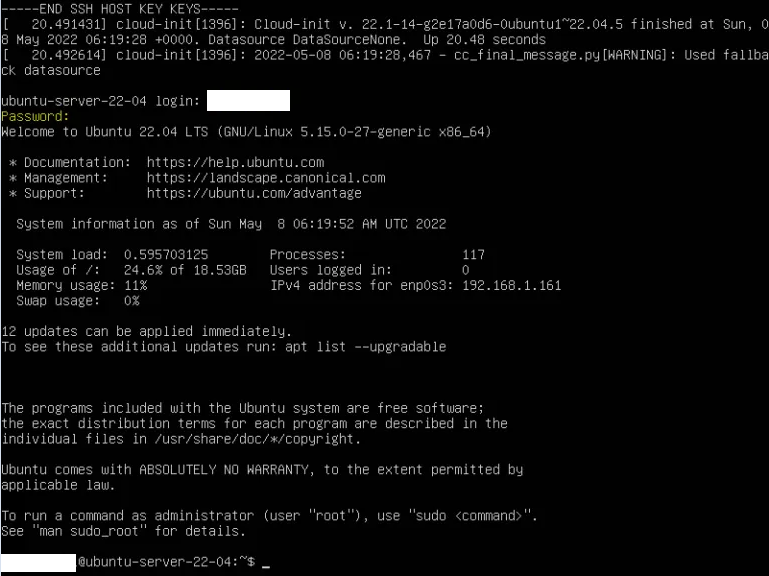
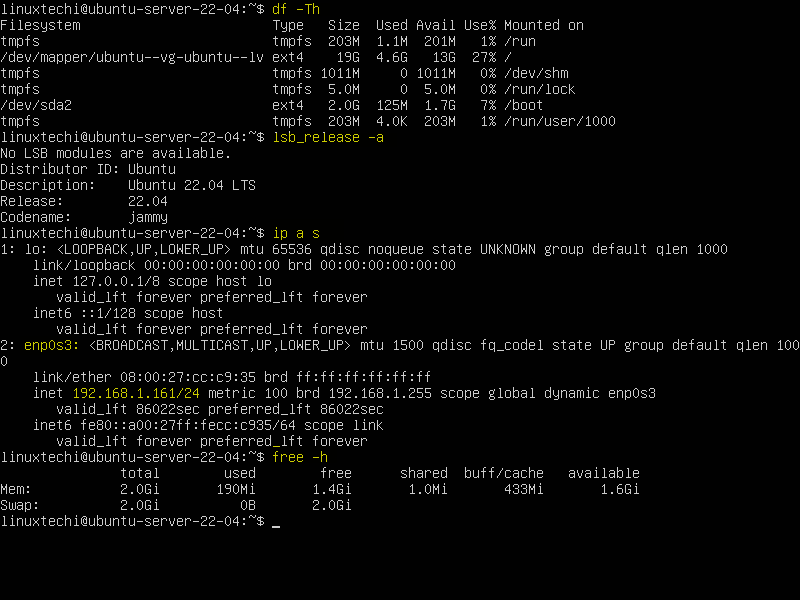
설치 후 아래 명령어들로 간단히 pc 상태를 확인합니다.
- df -Th : 하드디스크 용량할당 확인
- lsb_release -a : 우분투 버전 확인( 패키지들을 설치할 때 버전을 요하는 경우가 있으므로 알아두면 좋습니다 )
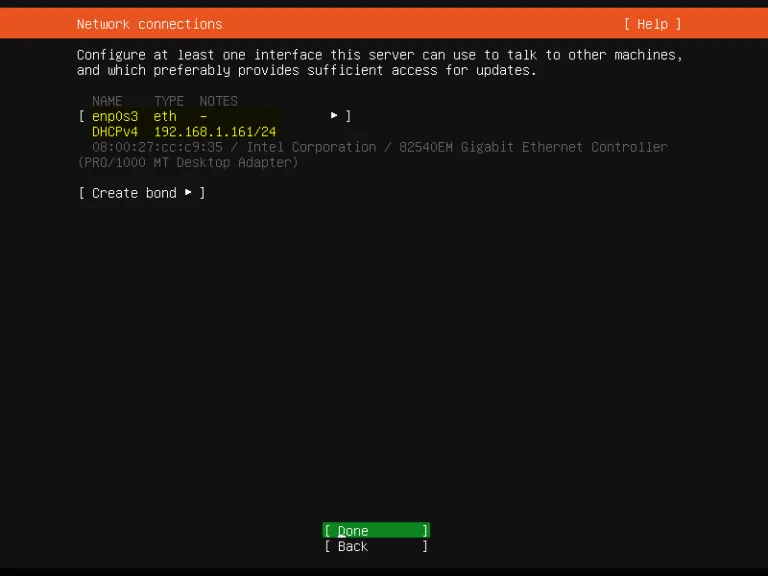
- ip a s : ip 확인. 화면의 노란색 부분의 ip입니다. 공유기를 쓸 경우 dhcp 에서 할당된 내부 ip가 표시됩니다.
- free -h : 현재 램 사용량 체크
이제 여러분 우분투 서버 주인이 되었습니다.